

Photos by Salty Spruce Studio
ASSEMBLING THE DRESS
I sewed the bodice and skirt together, and then inserted the invisible zipper before attaching the petticoat. If I remember correctly, I wanted to deal with less fabric and bulk when I was inserting the zipper. And the zipper didn’t get in the way when inserting the petticoat.
Zipper
When I was sewing the back seams, I basted the section where the zipper would go. Looking at the wrong side (WS) of the garment, I placed the invisible zipper on the seam in the correct location (zipper side down). I always hand baste a few stitches to secure it. Then, I sewed a row of stitches (to the seam allowance only) with a regular foot to secure the zipper in it’s correct place. And I also hand-sew some securing stitches where the zipper should stop. Next, take out the basting stitches, and I unzipped the zipper a bit beyond the stop stitches. Next, I used a zipper foot, which opens up the invisible zipper and allows a row of stitches to be sewn closer to the zipper teeth. It’s really cool! I always go slow to ensure that the stitches don’t go into the teeth, which will prevent the zipper from closing.
Attaching the petticoat
I will admit, this next part is slightly confusing and difficult to explain but I will try my best! There is probably a better way to do this but this is what I came up with 🙂
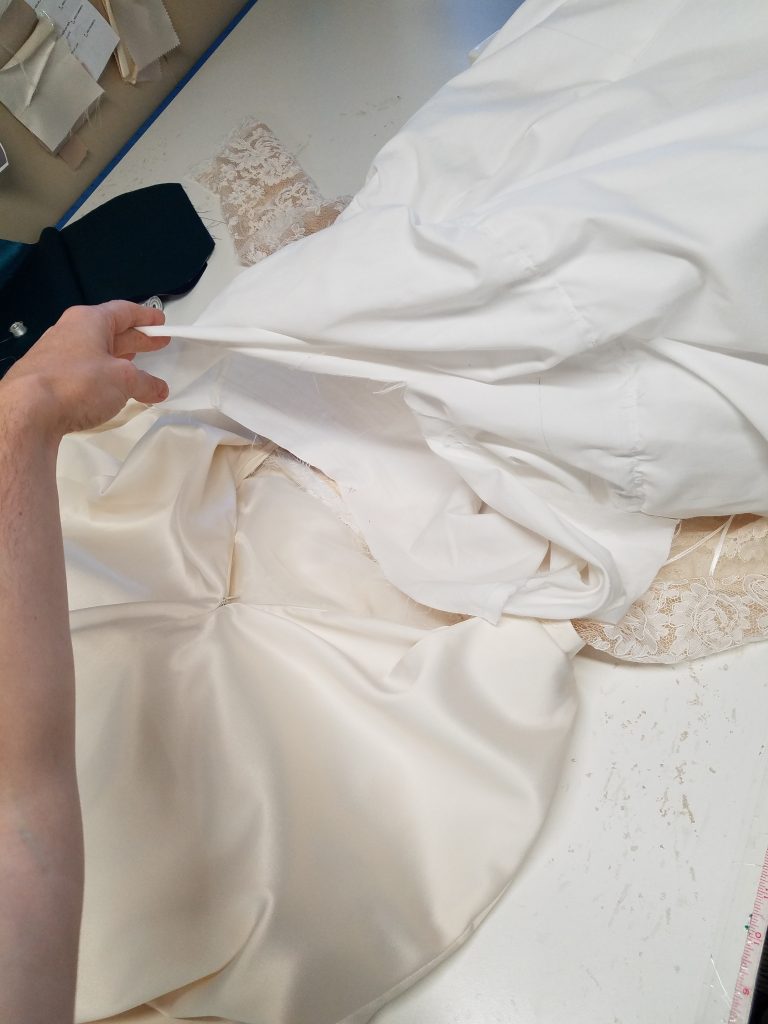
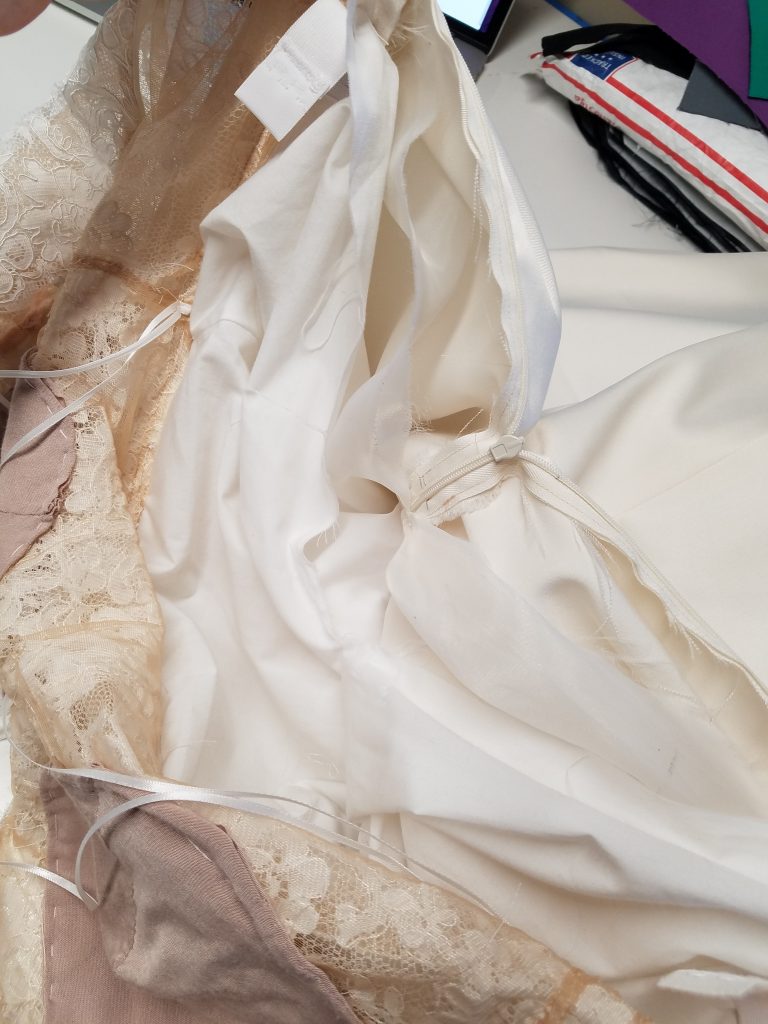
petticoat is inside out and in opposite direction as the skirt (pointed up) 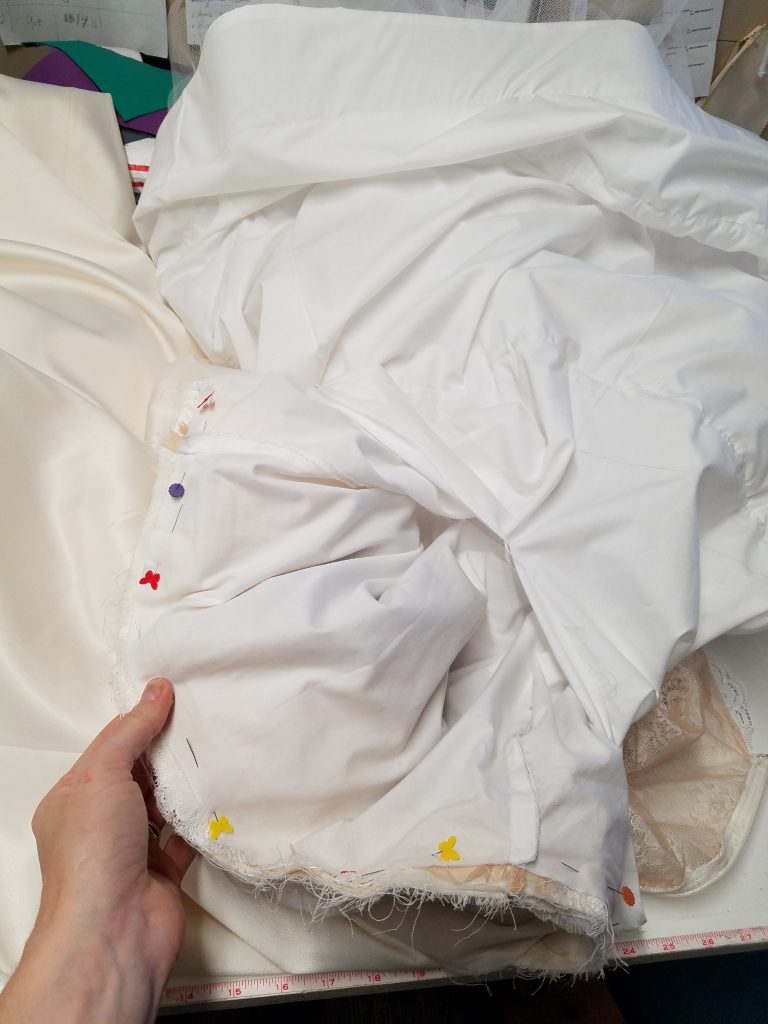
inside/RS of petticoat is facing the WS of the skirt-bodice seam
This was a mind-bender, because the skirt is no longer a flat surface, and you have merely the space of the zipper opening through which to sew the pieces together.
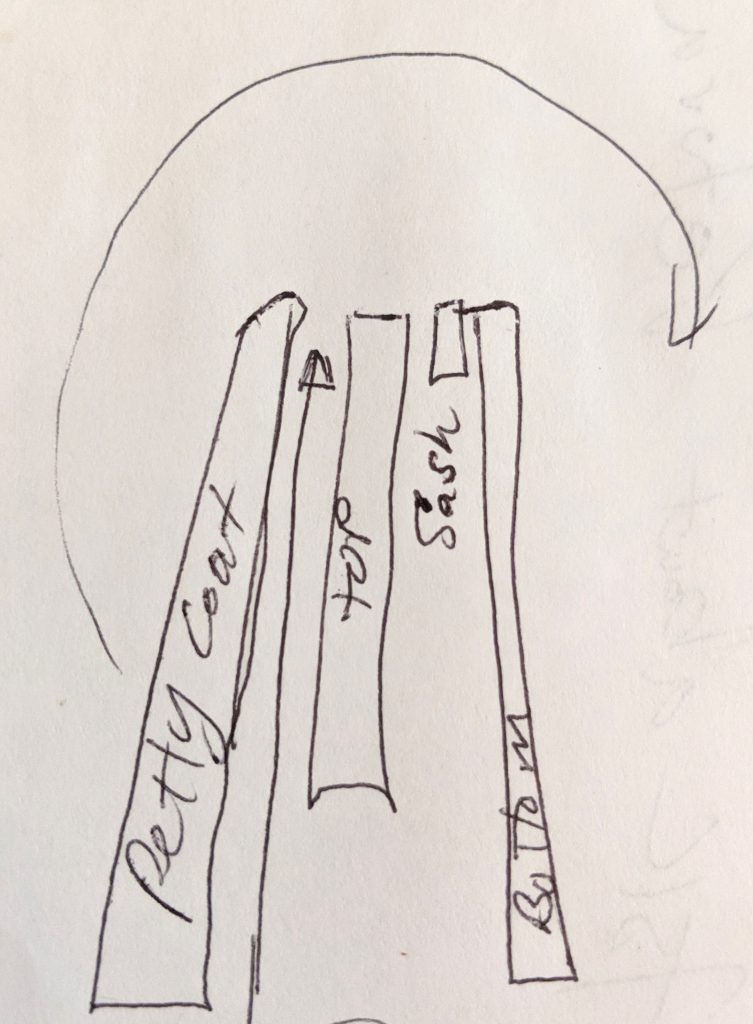
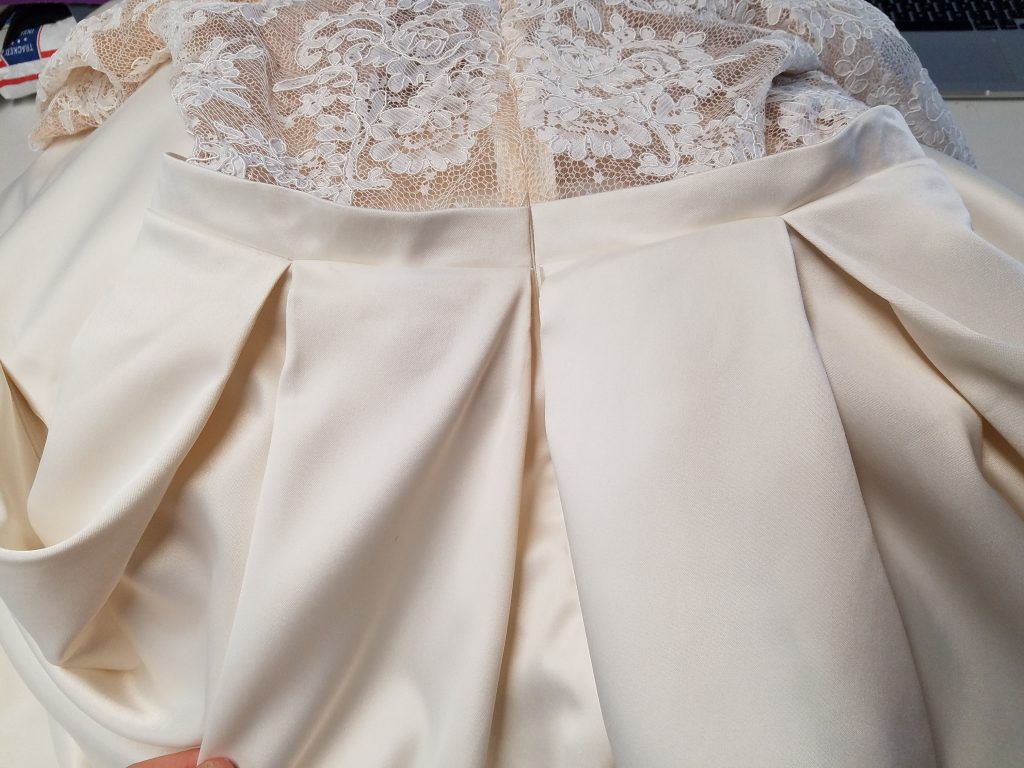
- The skirt and bodice are sewn, right sides together with a 3/4 inch seam allowance- through the organdy layer also. (See images above & sketch to the left)
- The inside edge of the petticoat is sewn to the wrong side of the bodice seam that was just made, so that when you flip it right side in, the itchy tulle will be sandwiched between the cotton layer of the petticoat and the organdy of the skirt.
- The petticoat has to be inside out and in the opposite direction of the skirt when sewn in (see above photos). This will hide the skirt-bodice seam.
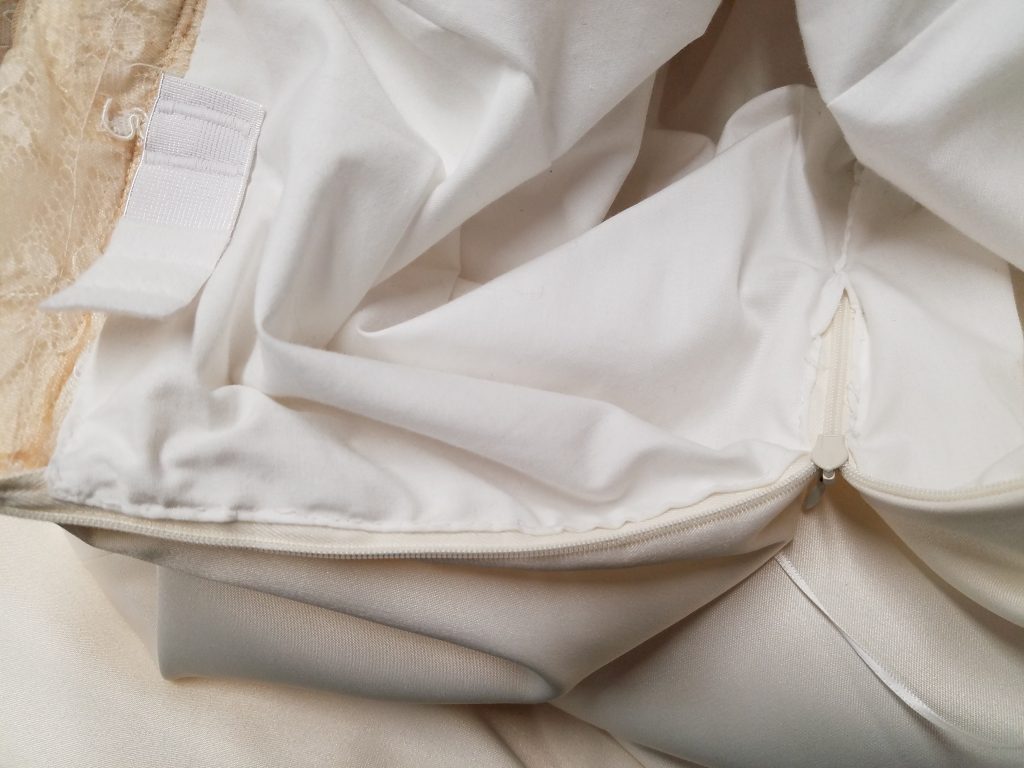
Attaching the waist stay
waist stay sewn into the petticoat
& waist band ONLY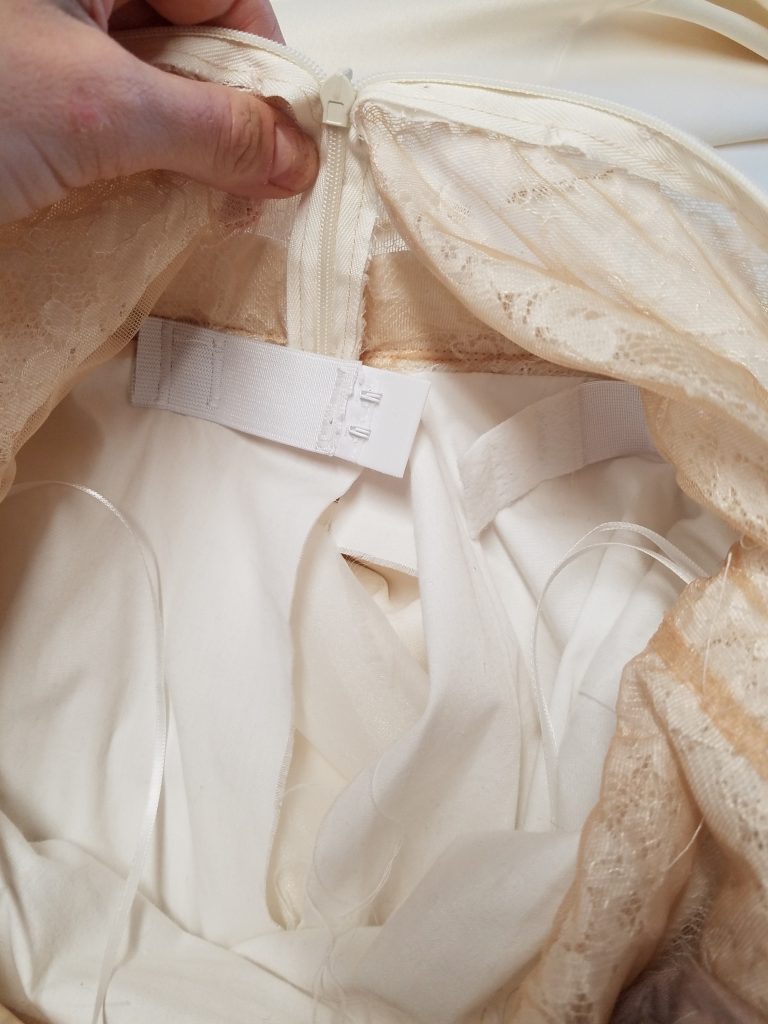
You can see I didn’t bother to finish the zipper seams!
If you have a heavy dress this can help transfer some of that weight to the waist so its not hanging from your shoulders. That’s the last thing I want! This dress was also very tight, putting the weight was at my hips, so this was probably not necessary but I put it in anyway.
The waist stay has to be sewn in before closing up the back. It was sewn into the waistband seam allowance only (part of the reason for a large eam allowance). You have to open up the layers a bit to catch only that section of fabric. Don’t sew through the main skirt!
I used a 2 hook bra repair kit similar to this one from Joann Fabric, and added extra elastic to extend the length. After attaching one side of the waist stay, hook in the other side and try it on to determine the right placement, and mark it (or get help marking its position). It should feel snug. Make sure you sew it in with the padded section facing inward.
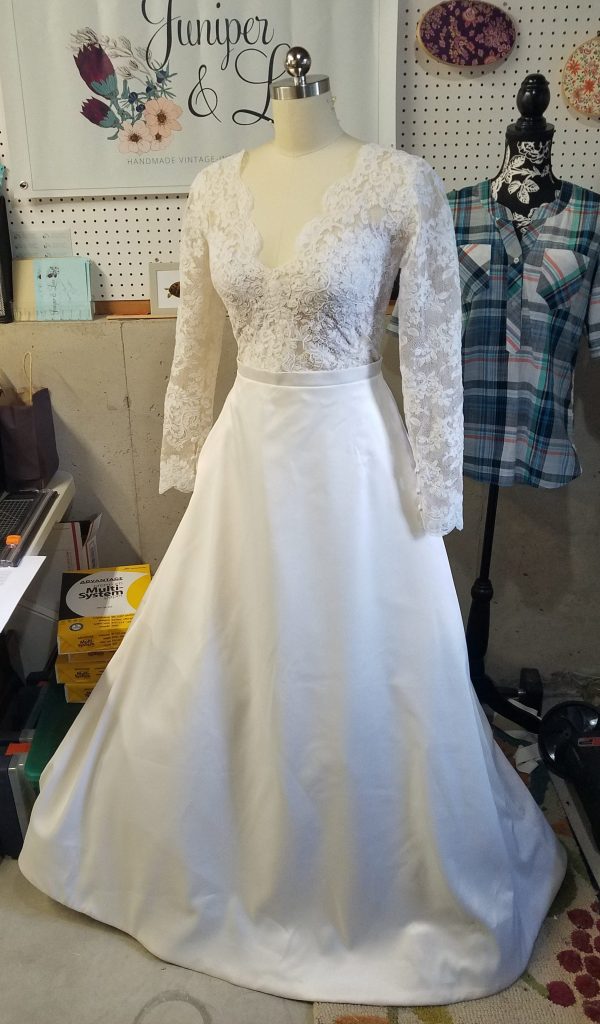
Lastly, I finished it with a bit of hasty hand-sewing to close her up! I immediately tried it on and did a happy dance!
FINAL STATS
- Fabric samples purchased: 37
- Skirt Muslins made: 3
- Cost: ~$200-400 ??
- Production time: 70-100 hours ??
- Time worn: 4 hours
- Happiness: Infinite!
FINAL THOUGHTS
All in all, I LOVE my dress! Sometimes I can’t believe I made it myself with very little couture experience. Maybe my naiveté about the complexity came in handy! But seriously, it really wasn’t that bad! We got engaged in June, the wedding was in September, and I didn’t really start sewing til mid-July! But I am self-employed, so I had a lot of flexibility to sew round-the-clock!
Things I would change
- I ran out of time, but I would’ve added buttons up the back zipper
- I think I put one of the sleeves on backwards… whoops. It felt funny
- Definitely add armpit gussets! It was too hot to keep the dress on anyway, but I would have been more comfortable with a little more range of motion.
- I forgot to iron the zipper bc it was one of the last things I did.
- Fix the pleats. I didn’t know what I was doing and they don’t fall flat, or straight down.
- Figure out a better way of adding support for the girls. I wanted the illusion of just lace over the bodice, and I REALLY didn’t want to make or have a strapless/corset look under the lace. So, no solutions there… oh well!

GO BACK TO PREVIOUS POSTS?
Go back to PART 1: Inspiration & Design
Go back to PART 2: Lace Bodice
Go back to PART 3: Skirt & Petticoat