I knew when we got engaged that I would make my wedding dress. I have been tackling clothing projects since February 2018, but had no couture experience whatsoever! And we got engaged in June, so I had a short deadline! But I very much enjoy a challenge! And I was confident enough in my skills & attention to detail to know that I would learn as I go!
I did not have a pattern, but I got a lot of tips from Susan Khalje’s book Bridal Couture. I looked for a pattern as a starting point, but I knew it would create more work for myself unless it was exactly what I wanted. So, I decided to go without a pattern and just muslin, muslin, muslin!
In a future post, I will compile all the wonderful bridal patterns I purchased, or considered using.
THE DESIGN
I cycled through a few ideas before I was certain of my design. I knew I wanted lace, but maybe not a full lace overlay. At first, I was leaning toward something very non-traditional… maybe I would go with blue? But in the end fell in love with a design that was more traditional. And it truly was the dress of my dreams.
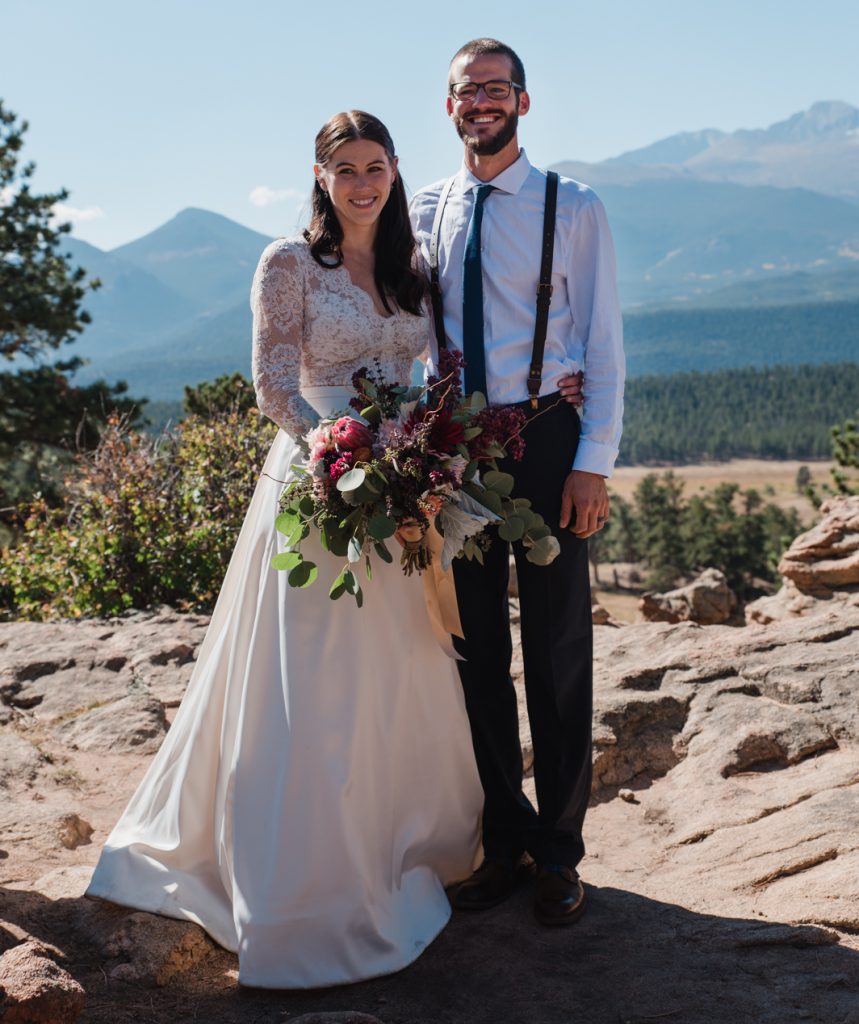
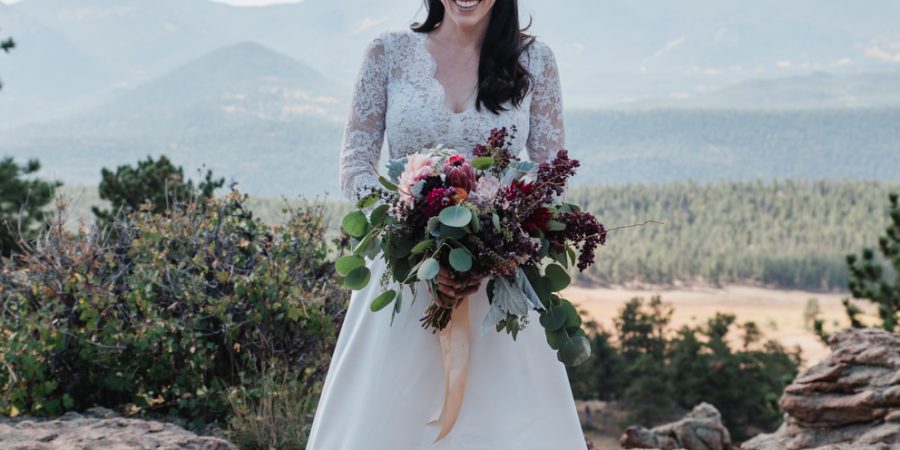
Normally, I would have chosen a fitted dress because I didn’t think A-line looked good on my shape. Yes, we all have insecurities, but I hadn’t even ever tried one on and yet, I just assumed it didn’t look good on me!
We were married in Rocky Mountain National Park so I thought the dress should have more presence than a fitted gown would have (like Sasha by Made with Love, which was my original favorite). So I tried on a few A-line dresses, and I was easily convinced.
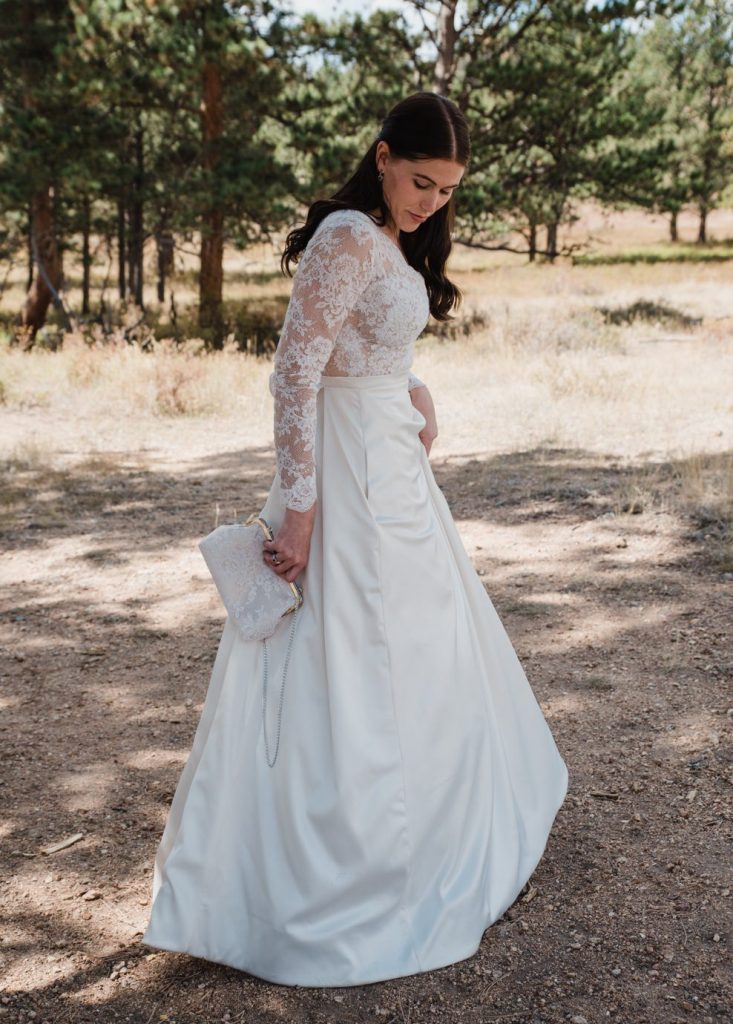
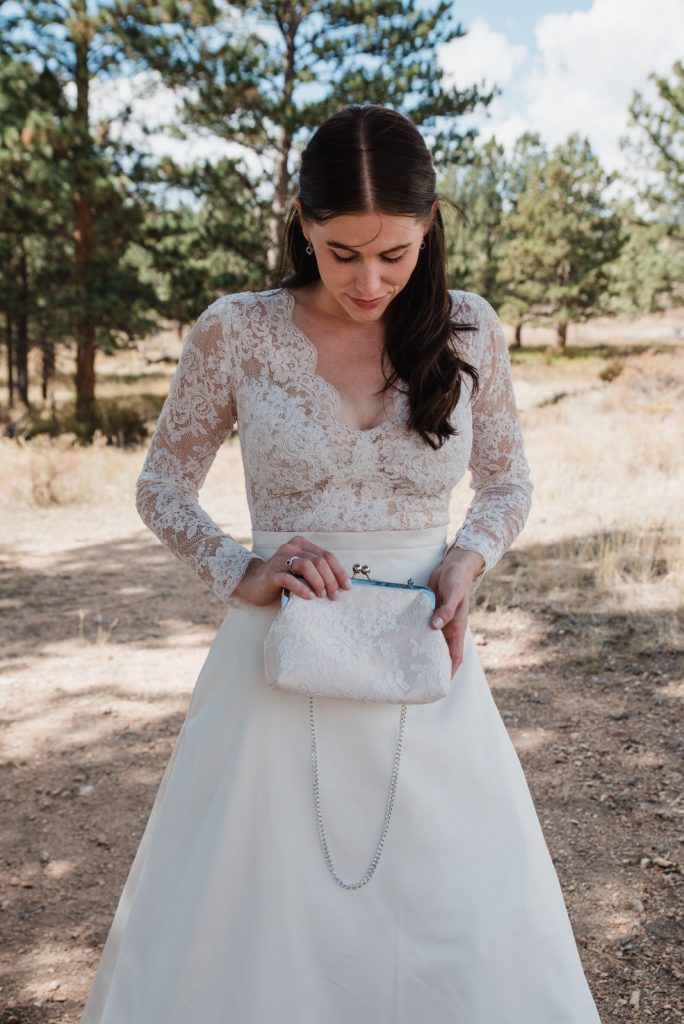
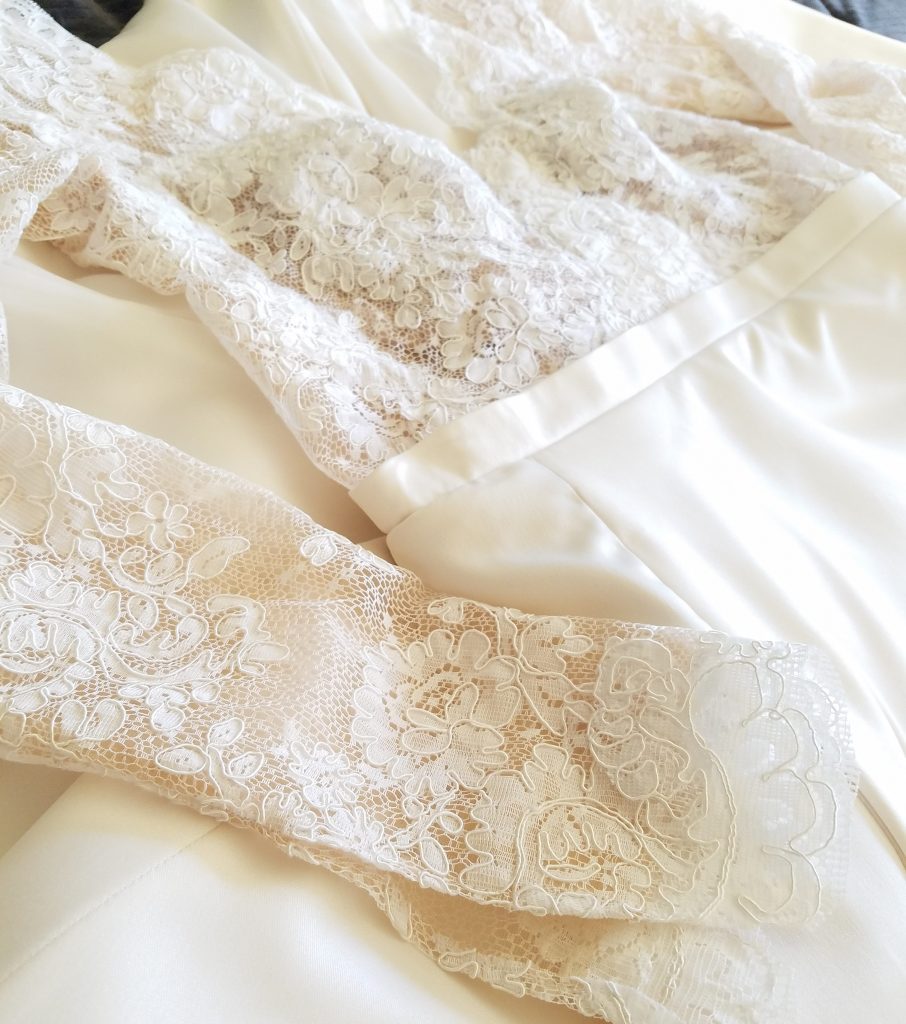
The sketch that I drew is close to what I ended up making: a matte satin A-line skirt with pockets (of course!) & a long-sleeved lace bodice with a v-neck, but I decided against the slit. I think that would have required a different material, perhaps something more flowy. I also didn’t wrap the front of the bodice, because I only lined the bust, and the bodice was not made in one piece. This idea would have been great with a thin stretch lace that could be gathered across the front. (Maybe my next formal gown!)
In the upcoming posts, I will talk about the process of drafting the dress pattern, fabric sources, making the petticoat, skirt & lace bodice, putting it all together, adding a waist-stay, and the finishing touches like adding buttons!
DRESS DETAILS: click below to navigate
PART 2 – The Lace Bodice: Drafting the top in mesh, draping & assembly of the lace for the bodice, lining the bust, adding the sleeves
PART 3 – The Skirt & Petticoat: The process of drafting my skirt, creating the petty coat, lining the skirt with organza/organdy, adding a horsehair braid along the bottom, making a few muslins(!)
PART 4 – Finishing Details: Completing & assembling the dress, adding a waist-stay, and zipper