FABRIC
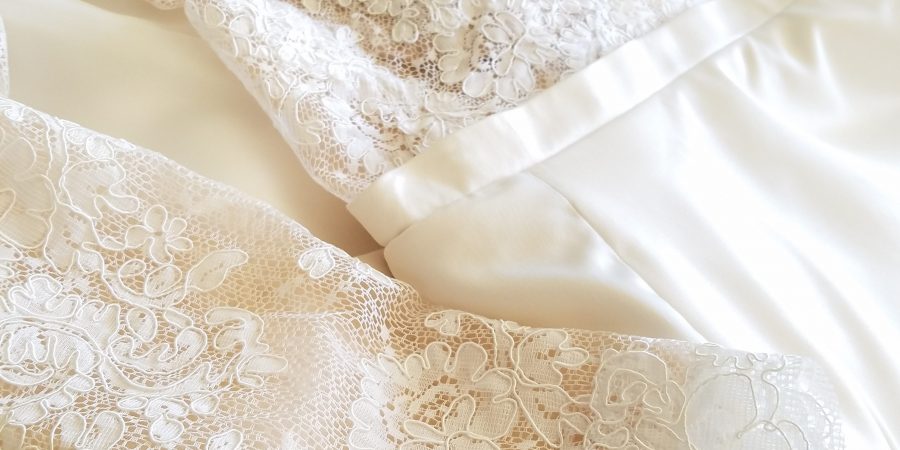
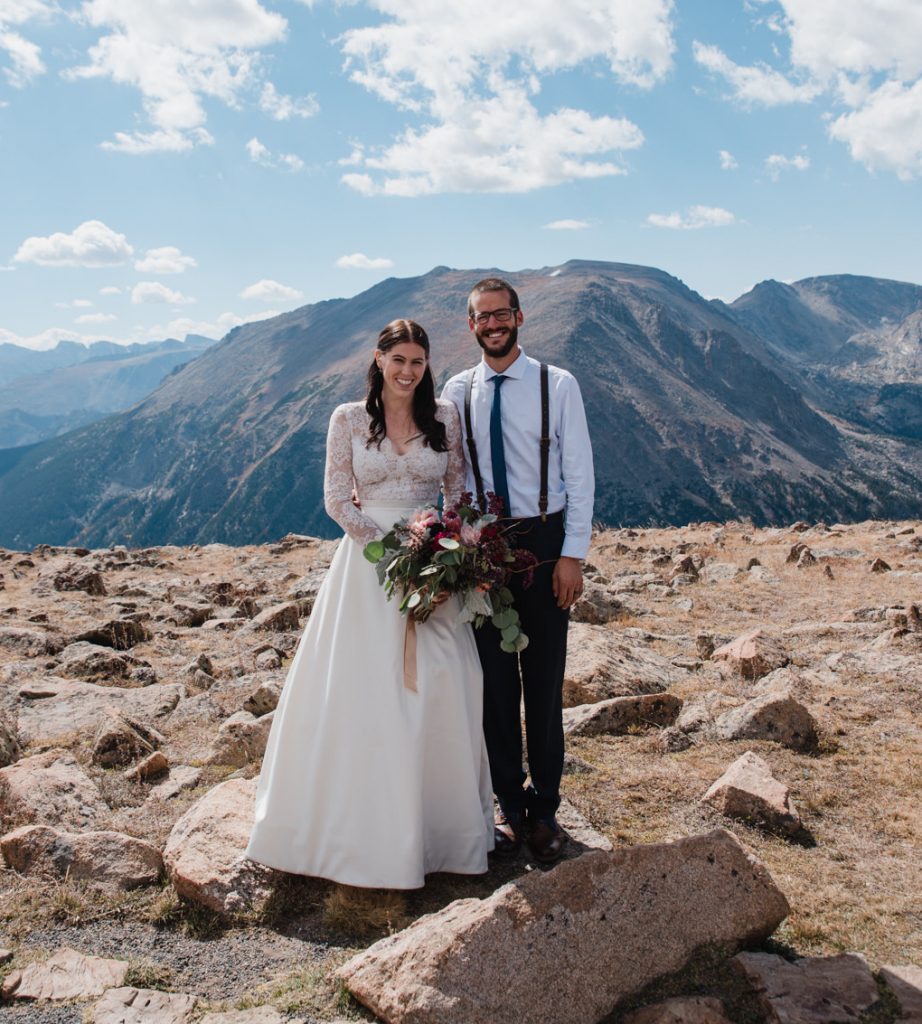
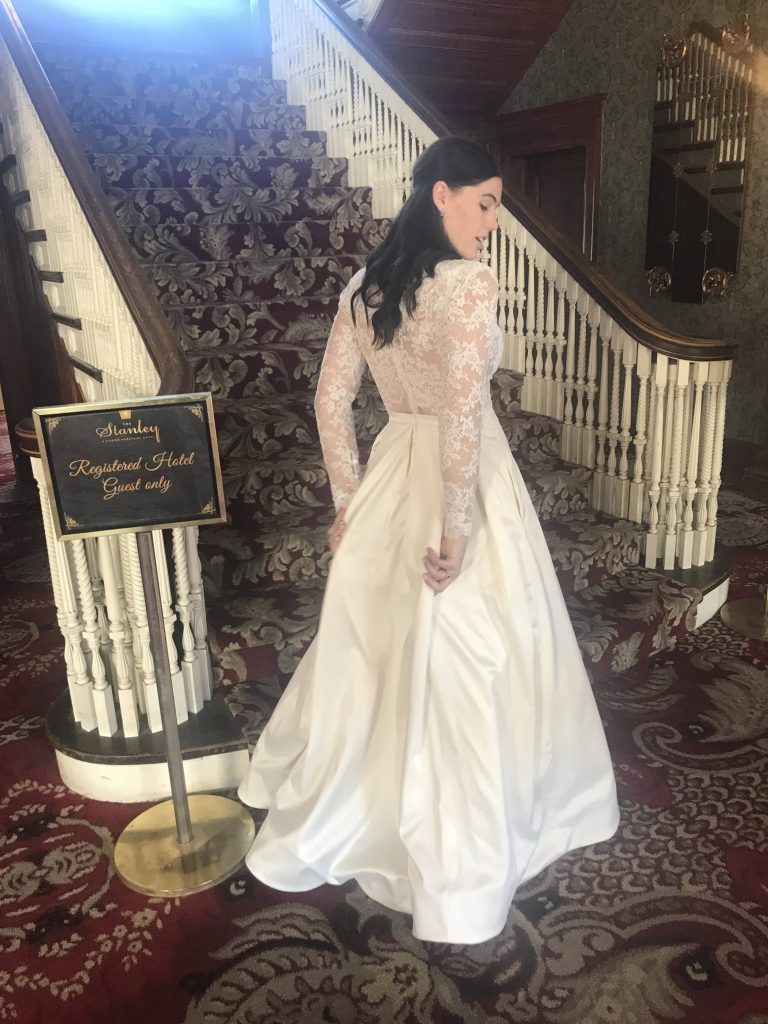
I thought a lot about the fabric, got tons of samples, and went back & forth about colors. In the end I went with ivory satin and white lace! Whaaat!?
When I get a vision in mind, it’s hard to change my mind! I was set on matte, ivory, and weighty fabric: something that wasn’t flowy, but instead had structure. I hate flimsy satin. A lot of satin samples that I ordered were too white, or were too thin, or were too shiny. I first tried to find a fabric called mikado, which has a twill weave. But I couldn’t find it in the right color, or for less than $80/yard- tooooo much! I ended up finding the right satin (link below) after much indecision!
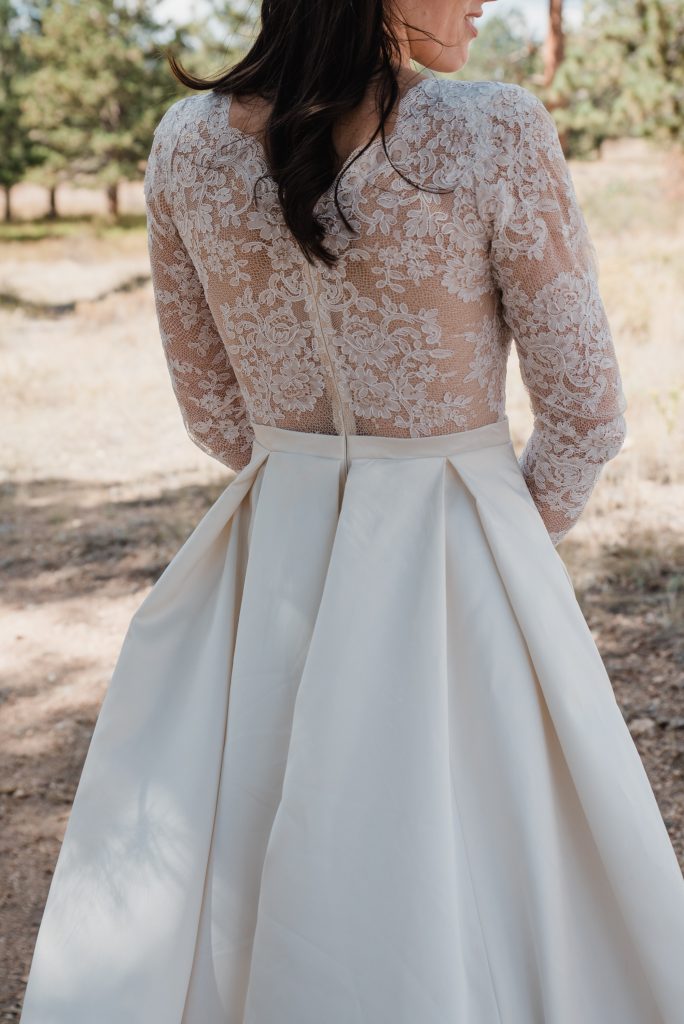
Onto the lace. I found the lace I loved, and was already set on that before searching for the satin. So after debating with myself for a while about whether or not the satin matched the lace (and asking friends; thanks Sarah), I just went with it. And ya know what, I like it! In some photos you can tell they don’t match, and in many you can’t tell at all.
Fabric sources for the skirt
Main Skirt: Ivory Satin from Fabric Direct; Organdy lining from JoAnn Fabrics (4-5 yards?).
— The satin above only came in a 25 yard bolt ($225), but it was worth getting the fabric of my choice. And I was able to use the remaining fabric in my business
Petticoat: Basic quilting cotton (approximately 2 yards); petticoat tulle from JoAnn Fabrics (at least 10 yards?)
Horsehair braid: 4 inch Horsehair with gathering string (approximately 15 ft)
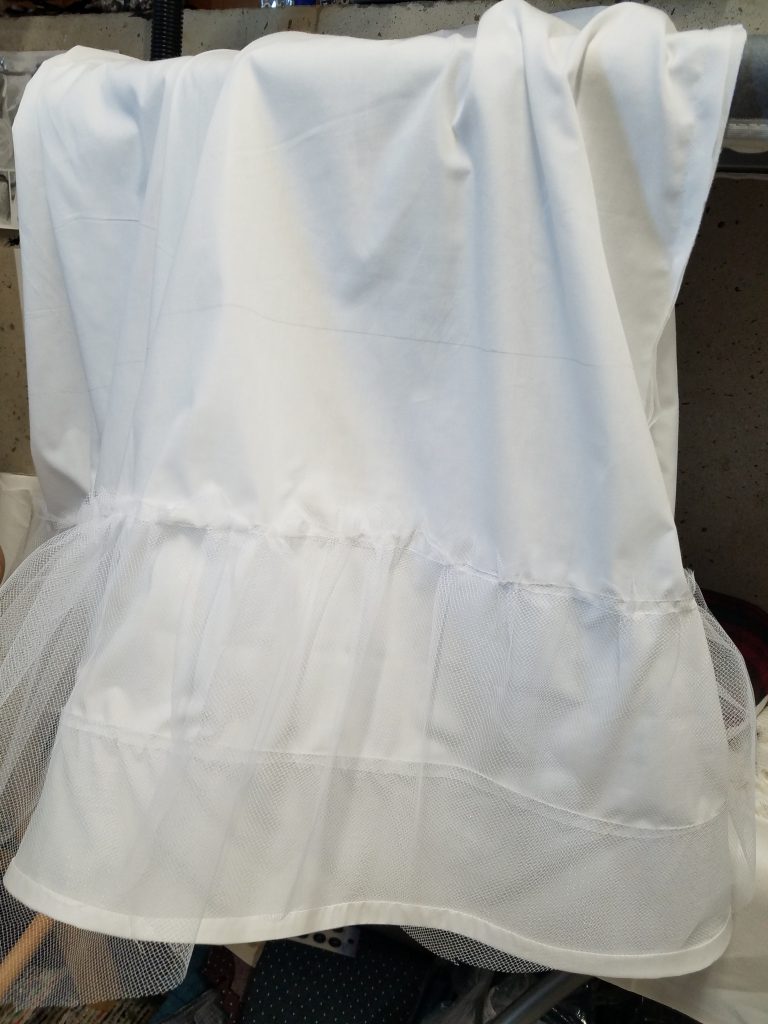
THE PETTICOAT
I did a lot of research & reading (Susan Khalje’s Bridal Couture & Bridal Gowns), and made a few muslins for practice. But, I don’t claim to have any expertise in this! My method involved a lot of experimentation so take this info with a grain of salt 🙂
Bottom layer of thick tulle 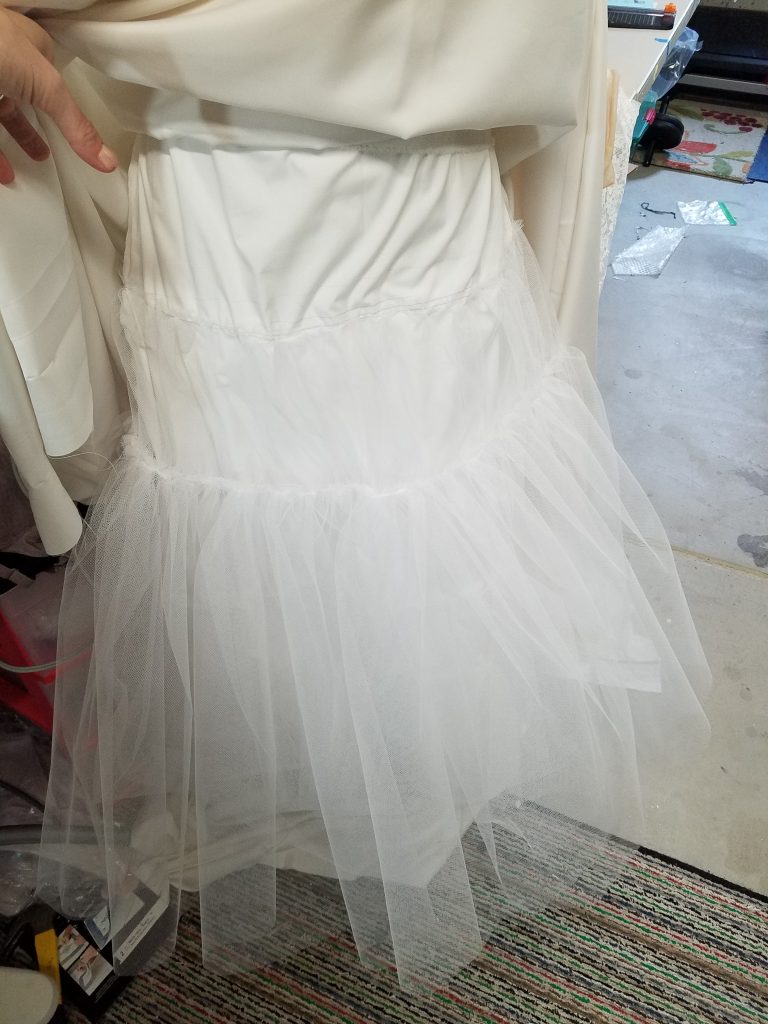
Top layer of thick tulle
If you want the dirty details, they are below! This is constructed for my height (5’10”).
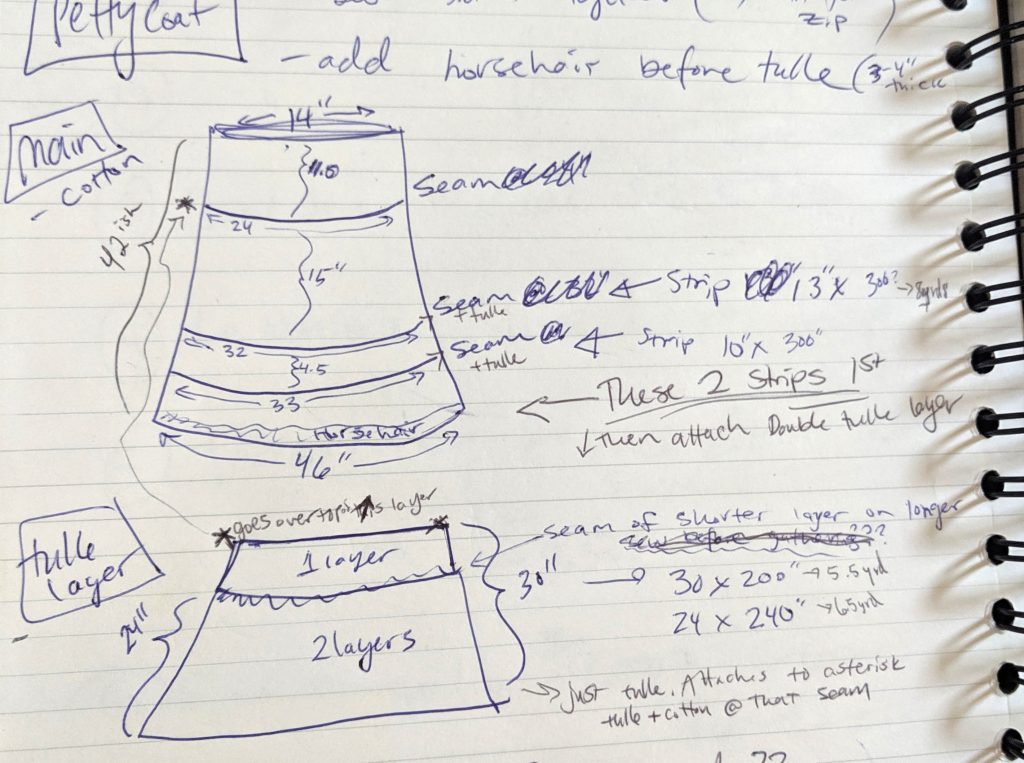
The main part of the petticoat was made from my measurements, with enough ease to be able to sit down, and walk with a normal stride, and to reach my ankles (diameter of final garment shown in above image). The horsehair braid was added before the tulle layers, stitched to the wrong side (inside, assuming the tulle is on the outside) with a 1/2″ seam allowance and then flipped over to the outside of the cotton layer. This seals in the edge of the horsehair. I then tightened the string a bit, to get the horsehair to conform to the petticoat, tapering it in slightly. Then, secure the top of the horsehair to the base with a line of stitches.
The tulle layers can be seen in the crazy drawing I made above. These were made with long strips of thick tulle that are highly gathered to create volume. Each layer was gathered (with 2 lines of basting stitches) before they were sewn together. Two thinner layers were added directly to the cotton layer at the bottom, overlapping a bit. Then a separate tulle piece (labeled “tulle layer” in the above drawing) was made and sewn to the cotton at about hip height, where it will fill out the dress to create an A-line shape. If you attach it any higher, it will be less A-line but more ball gown. This tulle piece was made of 2 shorter overlapping layers sewn onto a longer layer.
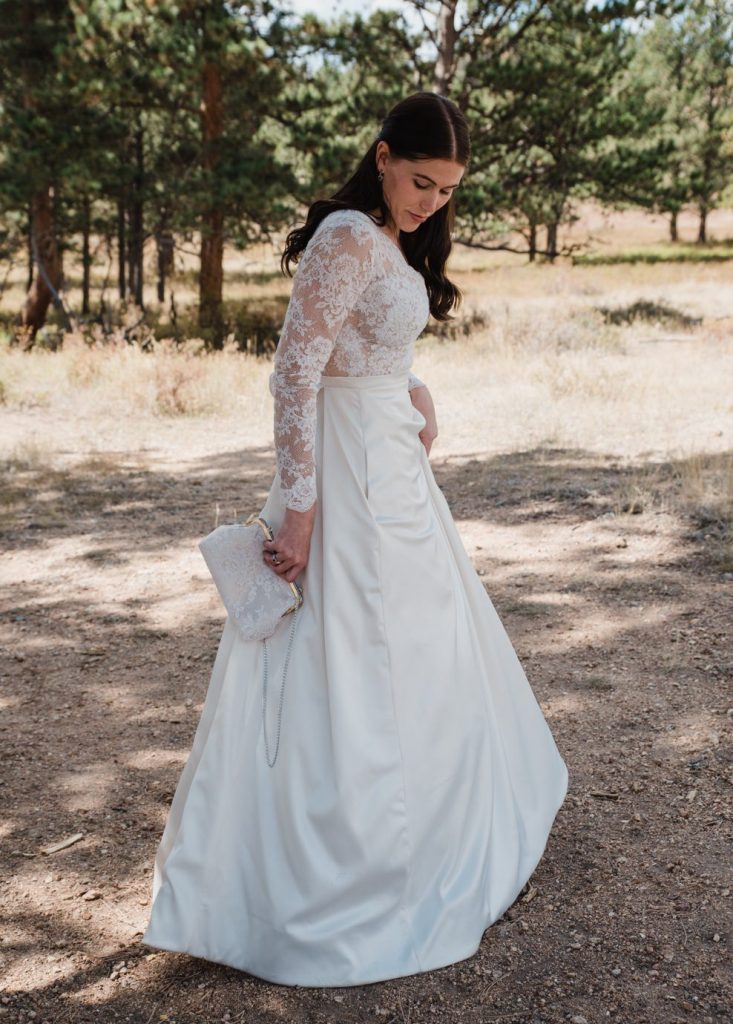
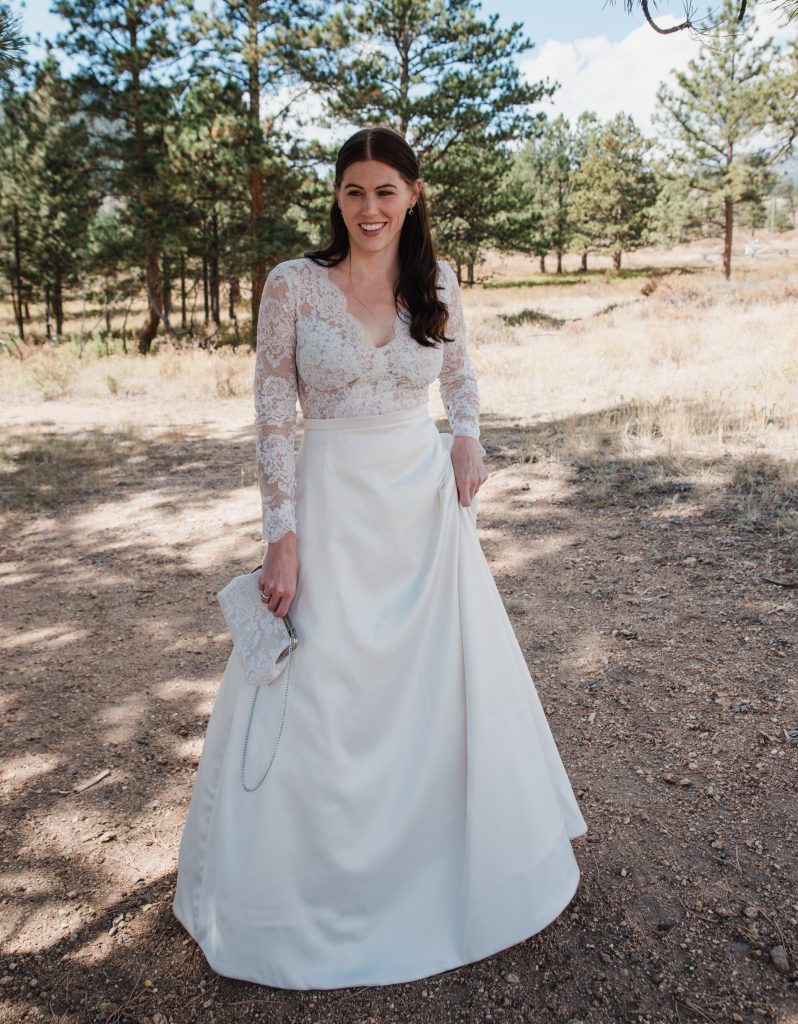
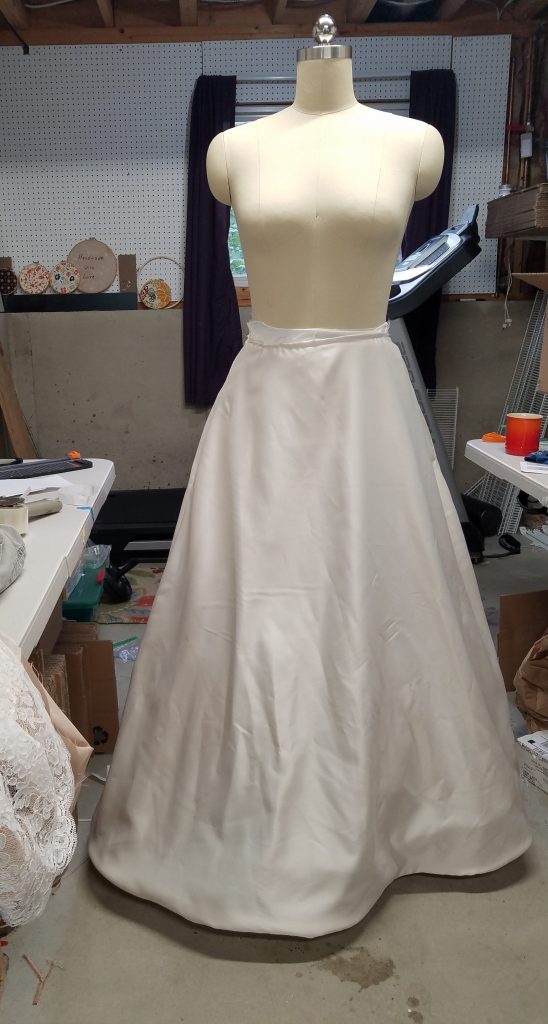
THE SKIRT
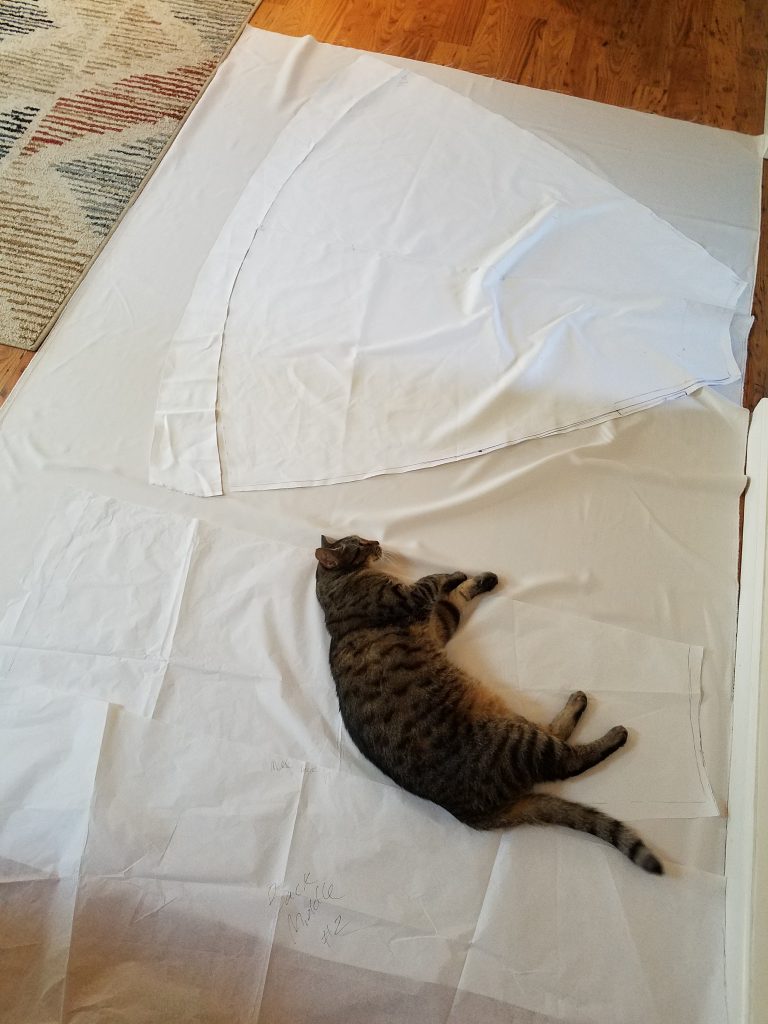
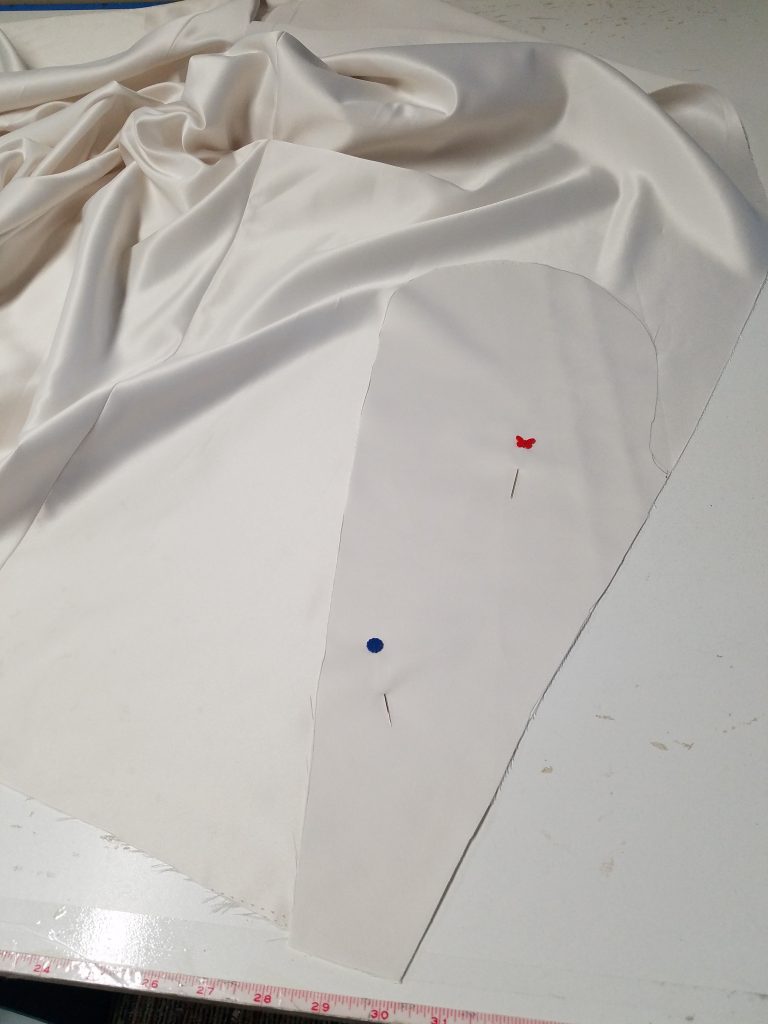
I drafted the skirt and made multiple muslins to get the right fit and fullness in the skirt. In addition to the front piece, the back consistent of 2 center back panels and 2 back side panels. I wouldn’t say I did the best job on the back panels and pleats, so I don’t have much to add unfortunately. I was kind of making it up as I went along, so the pleats never completely lay flat. But, I would definitely check out Susan’s book Bridal Couture, which was really helpful overall.
Once the panels were assembled, I lined it with organdy and added the horsehair braid to the bottom.
Skirt Lining & Horsehair Braid
The skirt was lined with organdy, which gave it more structure and body. The organdy lining and main satin were sewn, right sides together at the skirt bottom at the desired seam allowance, and then the horsehair braid was sewn to the organdy lining only (approximately and inch from the bottom) so that it was even with the seam that was just made.
You could probably do this all in one step, but I was having a hard time wrangling the horsehair while sewing. Let me back up- you could do this a different way: sew the horsehair to the organdy first, just inside/at the seam allowance. Then, sew the organdy to the main, (RS together, with the horsehair on the top, WS) sewing just outside the bottom edge of the horsehair, at the seam allowance.
This bottom seam (the main and lining) was pressed toward the horsehair-organdy, and understitched. Then the organdy was flipped to the inside and the seam was pressed well.
1st skirt muslin 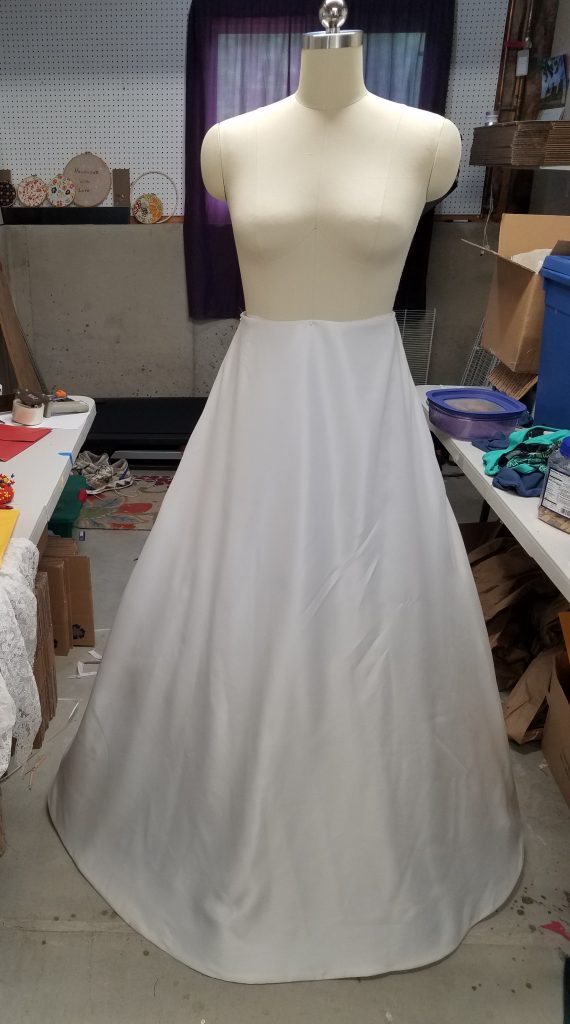
2nd skirt muslin- horsehair braid evened out
Finding a horsehair braid that has a gathering string can be really helpful, as seen in the above images. The horsehair braid is a slight cylinder shape when it is inserted, yet your skirt is a slight cone shape. Pulling the strings of the horsehair braid evenly along the top will help conform it to the shape of the skirt, evening it out.
Pockets
These should be inserted while sewing the front panel to the side back panels. I used this style to stabilize the pocket at the top and prevent it from gathering under the skirt, or from bunching like a smaller pocket might do. The opening to the pocket was about 11-12 inches from the top of the skirt.
QUICK RUN-THRU for adding pockets
- Sew the edge of the pocket to edge of skirt, right sides together. (Repeat for other side).
- Press the seam toward the pocket side, and understitch. (Repeat for other side).
- With the pockets laying open/flat, lay one pocket on the other with right sides together. Mark where opening of the pocket will be. Sew the sides of the skirt together from the top of the skirt to the top mark where the pocket will open.
- Next, sew the pockets together, starting at the top narrow section, around the pocket curve and back to the mark made for the bottom of the pocket. Backtack/reinforce the bottom of the pocket. Pivot your work, and continue to sew the skirt side seam from the bottom of the pocket to the bottom of the skirt. (Repeat for other side). Also, sew the side seam between the top of the skirt and the top of pocket opening.
- Finish seams, press well with pocket folded into the skirt.
- Within the seam allowance, baste the top of the pocket to the front of the skirt so it stays forward when wearing it.
Understitching the pocket opening made a big difference in the look of the pocket, preventing it from rolling to the outside.
Skip to the bottom to find the next link of the article


WHAT’S NEXT?
Go back to PART 1: Inspiration & Design
Go back to PART 2: Lace Bodice
Does your dress make a swishing sound when you walk? I think it adds so much feminine charm.
A little bit! 🙂